Why Do Homeowners Prefer Design-Build With An ADU Contractor In…
Homeowners select design-build with an ADU contractor in Walnut Creek, CA, as it brings clear steps and fewer headaches to constructing accessory dwelling units. With…

Homeowners select design-build with an ADU contractor in Walnut Creek, CA, as it brings clear steps and fewer headaches to constructing accessory dwelling units. With…

To budget properly with an ADU contractor in Martinez, CA, means to set a clear cost plan, agree on contract terms, and track expenses for…

Every consultation typically begins with a warning: many projects move forward without a clear understanding of Hayward’s zoning regulations and permit requirements, which can lead…

An ADU contractor in Fremont, CA, can add a full bathroom and kitchen to an accessory dwelling unit if the local building codes and zoning…

To maximize rental value with an ADU contractor in Alameda, CA, work with a builder like Mares & Dow Construction & Skylights Inc., who knows…

Zoning rules that impact an ADU contractor in Richmond, CA, projects such as yours include local lot size rules, building height limits, setback needs, parking…

If the work complies with city zoning and building regulations, an ADU contractor in Pleasant Hill, CA can convert a garage into living space. Minimum…

These ADU layouts are designed to make the most of limited space while supporting a range of family needs, from a combined living and play…

In response to the question, building a detached or attached ADU with an ADU contractor in San Ramon, CA, is contingent on your lot configuration,…

Building an ADU on a small lot in Concord, CA, is often more feasible than homeowners expect—as long as the project meets local zoning and…

Building an ADU in Orinda, CA starts with navigating the right permits—and getting them right is essential to keeping your project on track. From the…

Building an ADU in Danville, CA isn’t just about construction—it’s a multi-phase process that includes planning, permitting, and final build-out. So how long does it…

An ADU contractor in Walnut Creek, CA, typically charges between $1,800 and $3,500 per square meter for construction, depending on project size and materials. Labor,…

Building an ADU in Berkeley, CA, involves far more than construction—it’s a step-by-step process that requires expert coordination from start to finish. A qualified ADU…

An ADU contractor near me refers to a certified company or person who assists in designing and constructing accessory apartments in your neighborhood. These experts…
What are the most common repairs a skylight installation contractor in Martinez, CA deals with? Lots of area homes have older skylights that simply need…

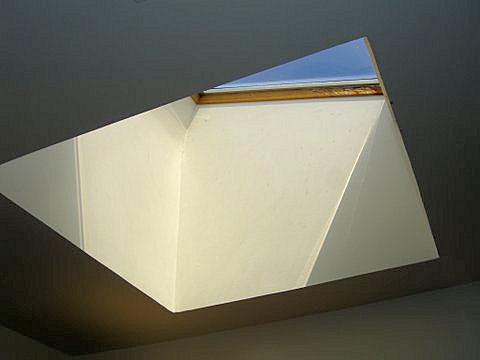
How do you know if a skylight installation contractor in Alameda, CA, installed it right? Proper work means the skylight sits flush with the roof,…

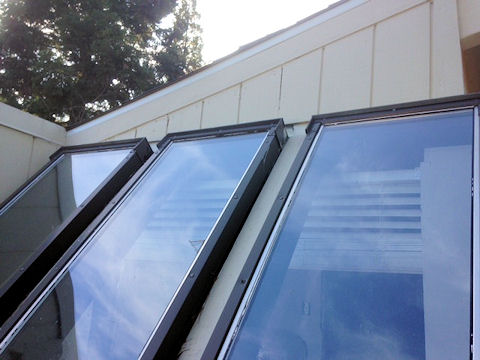
Skylight installation contractors in Fremont, CA can install sun tunnel skylights in tight spaces. Sun tunnel skylights play well in locations where a traditional skylight…

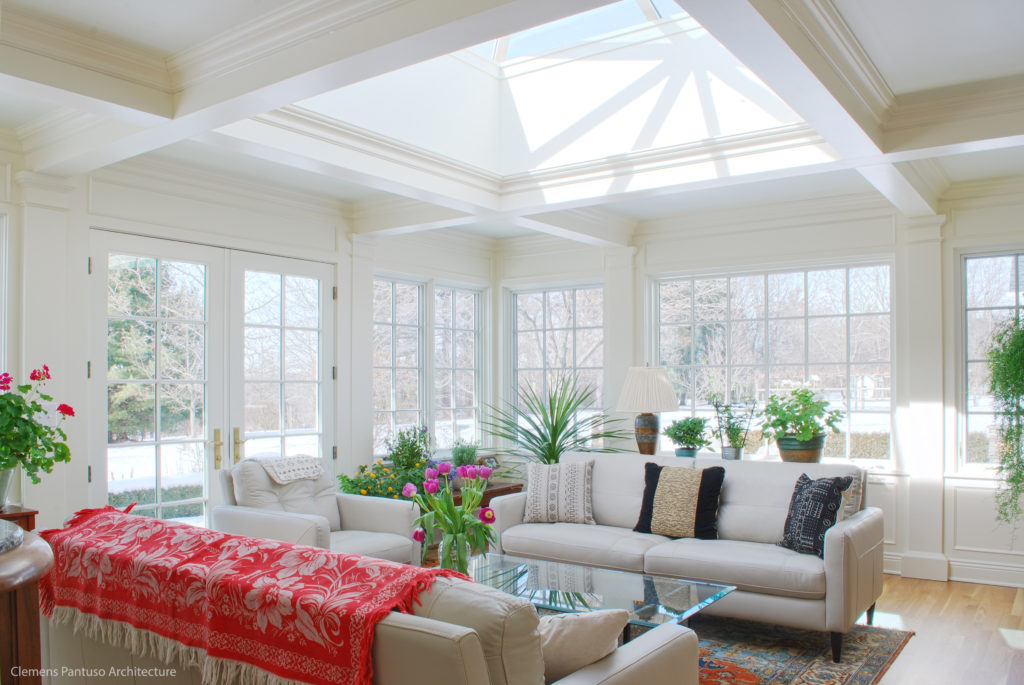
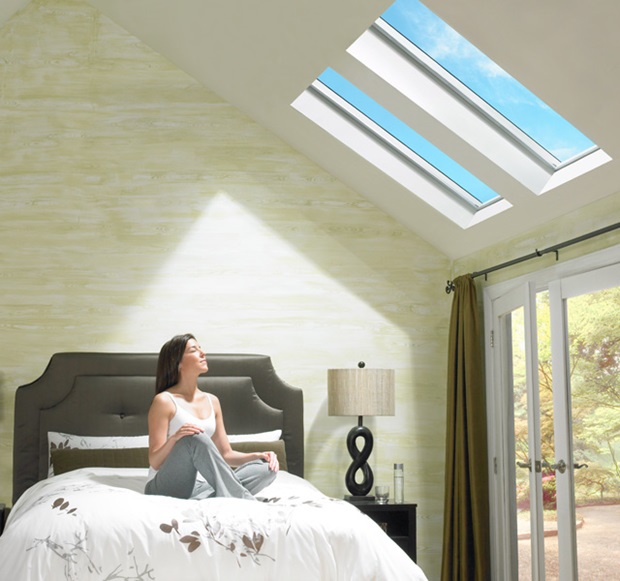
Homeowners appreciate modern skylights in their homes because they provide consistent natural light, fresh air, and durable construction, notes a skylight installation contractor in Contra…
Do you need permits for a skylight installation contractor in Lafayette, CA? According to Lafayette municipal codes, a city permit is required for any work…
Rainwater can slip through gaps when sealant breaks down or if flashing bends out of place. Old or cracked roofing around the skylight allows water…
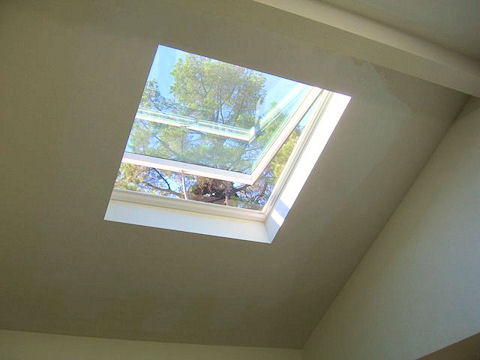
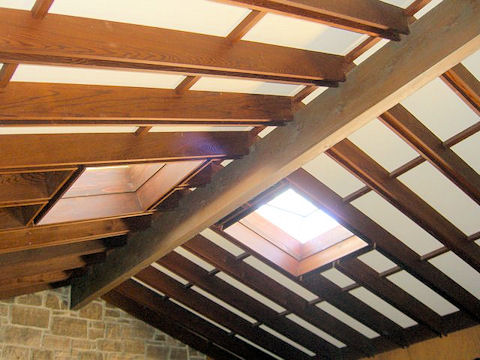
A skylight installation contractor in Concord, CA, can replace an old skylight without re-roofing. The type of skylight, the roof’s age, and its condition all…
The best rooms for a skylight installation contractor in Orinda, CA, to brighten. Homes in Orinda, CA, have kitchens that are better for cooking when…
Sun tunnels are less expensive than full skylights and provide homes with more daylight in areas that are typically dark, like bathrooms or hallways. Sun…