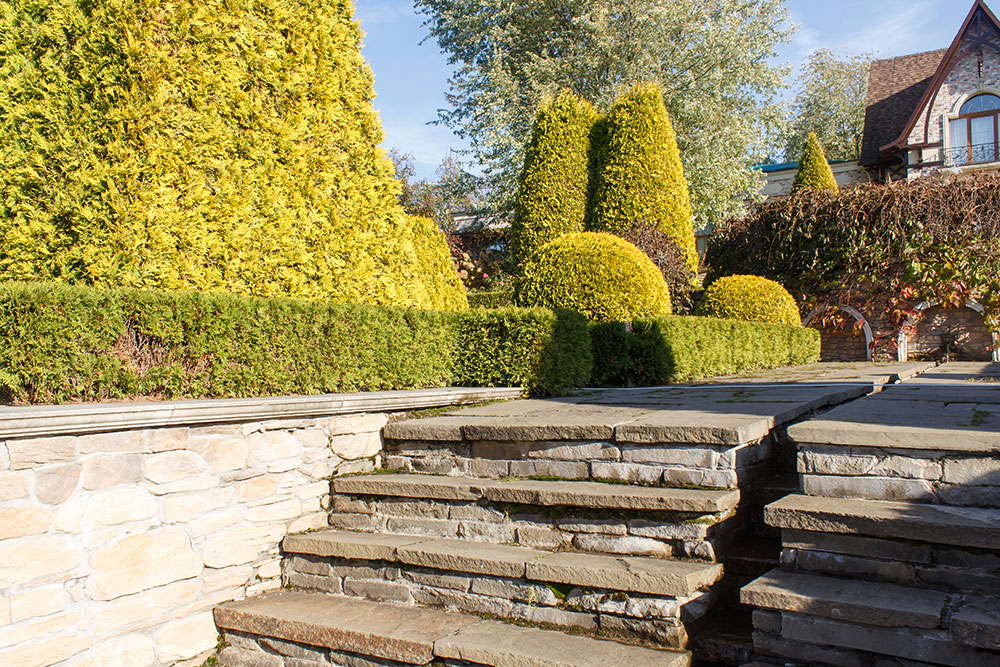
Retaining walls can open up landscaping options for your property, add beautiful design elements, and safely contain gradings throughout a property. They are also a summer project that can be fun for many homeowners. Properly constructing a retaining wall is important for your home’s long term value as well as the safety of every backyard barbecue next to a retaining wall. Constructing a retaining wall can be a do-it-yourself project, and here is a brief overview of how to properly construct one. This overview can help you better understand whether you are ready for a DIY project or if your project may require the help of a general contractor for retaining wall installation. If your wall is above four feet tall, you should consult an engineer, and you may need to submit building permits.
Creating a solid base for your retaining wall
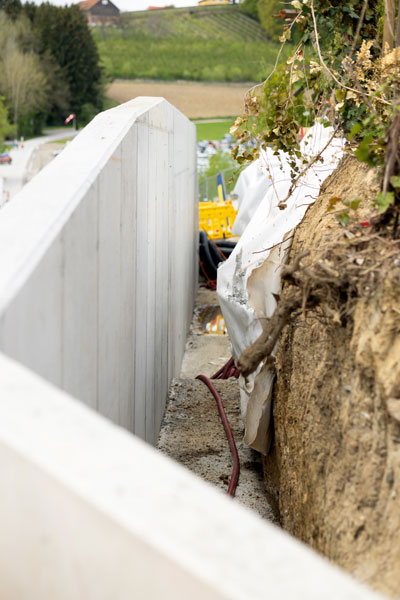
Retaining walls function to provide the force to push back against the weight of the solid earth behind it. Soil can weigh up to one and a half tons per cubic yard, and much more when wet. This means that retaining walls must be strong. This starts with the base of your retaining wall, which must be level and secure. First, you will need to dig out the area where your retaining wall will be to a depth that can fit the first course of bricks as well as base material. Base material, usually crushed stone or gravel, allows for drainage and provides a compacted base to keep your retaining wall from settling. Once the base material is compacted, begin to place the first course to create the shape of the retaining wall. It is important that the first course is level, as any misalignment will become exaggerated in the upper courses, so take your time and ensure that the bricks are placed well.
Building up your retaining wall
Keep in mind that your retaining wall needs to be able to push back against the soil it is containing. There are a few simple design elements, drainage and sloping, that will help make your retaining wall more secure. Keeping water from accumulating behind your retaining wall helps prevent overloading your wall with the increased weight of wet soil. Integrating drainage is done by backfilling the area behind your retaining wall with coarse rock instead of topsoil. This will allow water to pass behind your wall. It is also helpful to include drainage pipes at the base of your wall to carry water away from the wall. This can be done by first placing a drainage pipe behind the first above-ground course. Then, you cut a brick in half in that course and place a drainage gate along the drainage pipe. You can rent a saw specifically designed to cut bricks at your local hardware store or contact your local general contractor for advice.
You will then continue to place each course on top of the other. When placing each course, make sure it is level and fits together with the course below as designed, and continue to the next course. Most block systems for retaining wall are designed to incorporate a slope and easily fit together with a lip on each course. This places each course slightly offset behind the course below, sloping the wall. Sloping the wall reduces the load on the higher courses of the wall, improving its stability. When you are about a foot from the top of your wall, start placing topsoil instead of rocks behind the course and make sure the final level of the topsoil is even with the retaining wall to maximize water runoff.
If you need help with your retaining wall or would like to hand the project off to an en experienced and knowledgeable general contractor, contact us today!