How Much Does An ADU Contractor In Walnut Creek, CA…
An ADU contractor in Walnut Creek, CA, typically charges between $1,800 and $3,500 per square meter for construction, depending on project size and materials. Labor,…

An ADU contractor in Walnut Creek, CA, typically charges between $1,800 and $3,500 per square meter for construction, depending on project size and materials. Labor,…

Building an ADU in Berkeley, CA, involves far more than construction—it’s a step-by-step process that requires expert coordination from start to finish. A qualified ADU…

An ADU contractor near me refers to a certified company or person who assists in designing and constructing accessory apartments in your neighborhood. These experts…
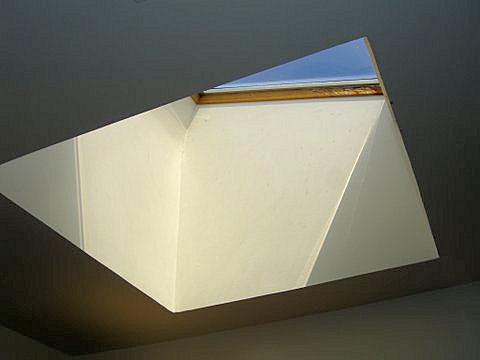
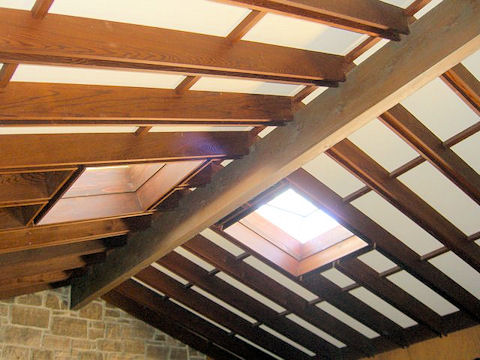
What are the most common repairs a skylight installation contractor in Martinez, CA deals with? Lots of area homes have older skylights that simply need…

How do you know if a skylight installation contractor in Alameda, CA, installed it right? Proper work means the skylight sits flush with the roof,…

Skylight installation contractors in Fremont, CA can install sun tunnel skylights in tight spaces. Sun tunnel skylights play well in locations where a traditional skylight…

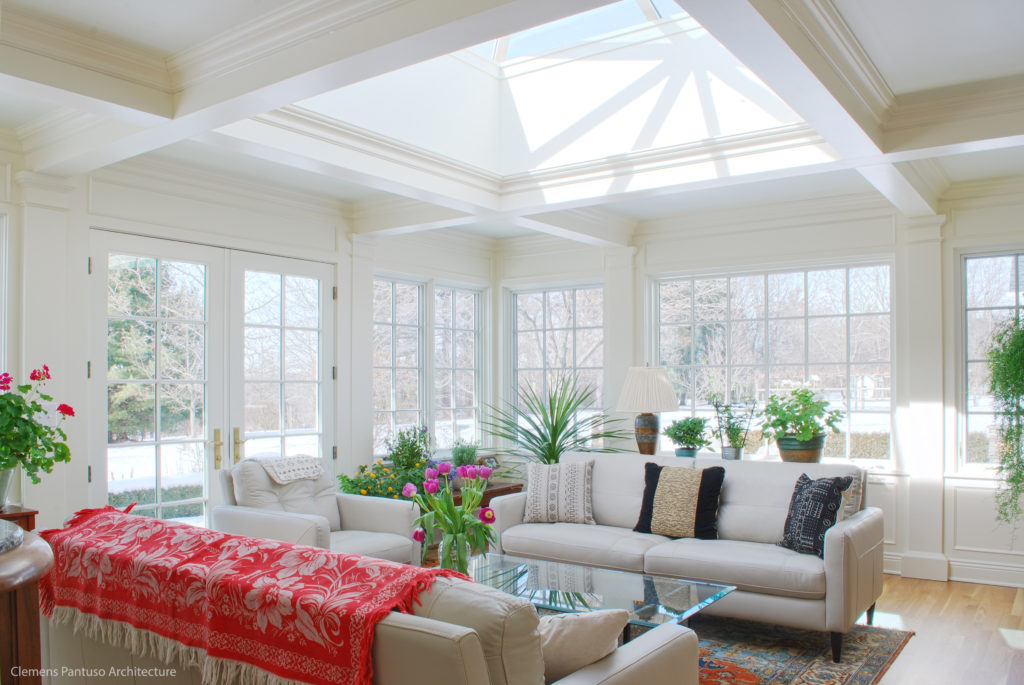
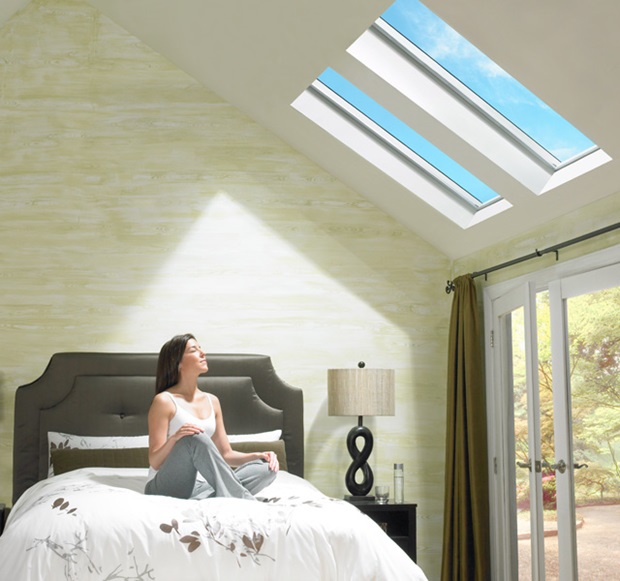
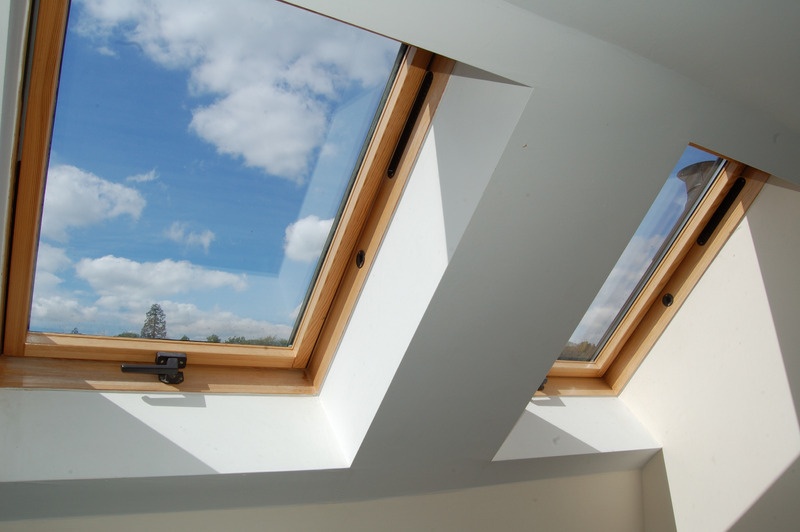
Homeowners appreciate modern skylights in their homes because they provide consistent natural light, fresh air, and durable construction, notes a skylight installation contractor in Contra…
Do you need permits for a skylight installation contractor in Lafayette, CA? According to Lafayette municipal codes, a city permit is required for any work…
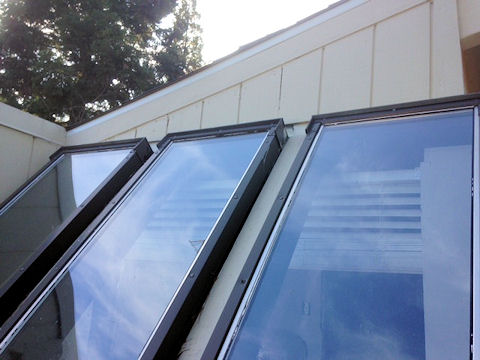
Rainwater can slip through gaps when sealant breaks down or if flashing bends out of place. Old or cracked roofing around the skylight allows water…
A skylight installation contractor in Concord, CA, can replace an old skylight without re-roofing. The type of skylight, the roof’s age, and its condition all…
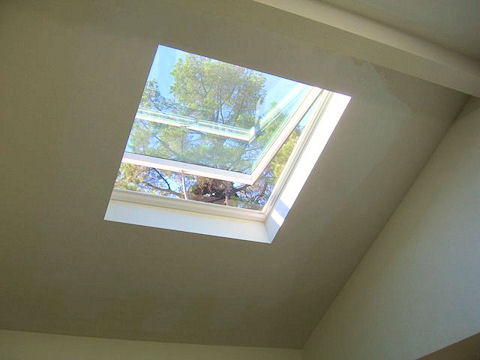
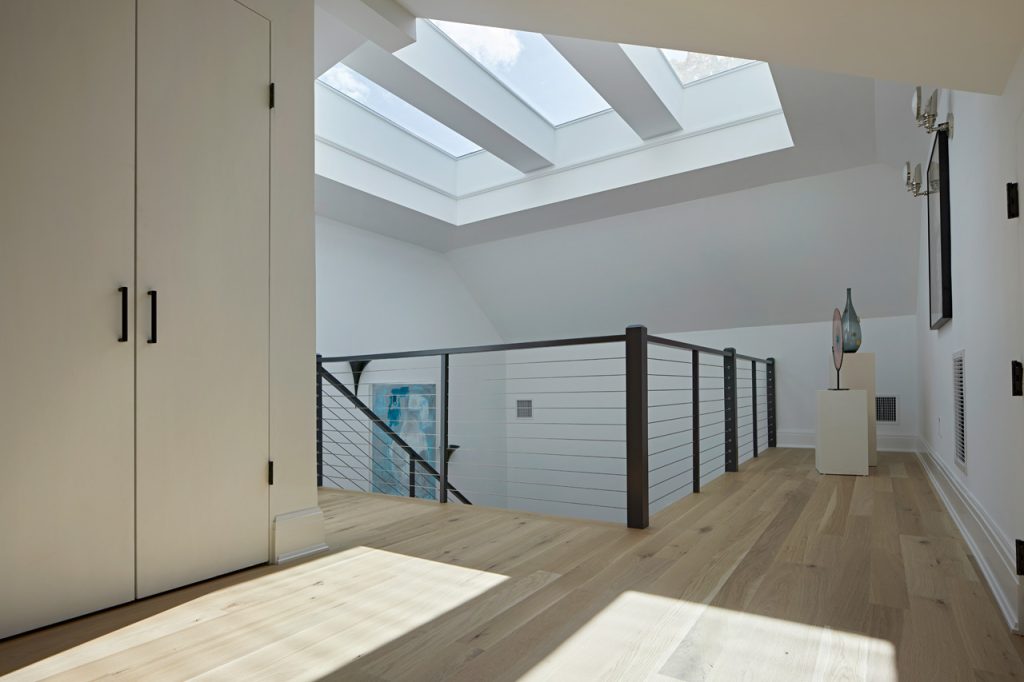
The best rooms for a skylight installation contractor in Orinda, CA, to brighten. Homes in Orinda, CA, have kitchens that are better for cooking when…
Sun tunnels are less expensive than full skylights and provide homes with more daylight in areas that are typically dark, like bathrooms or hallways. Sun…
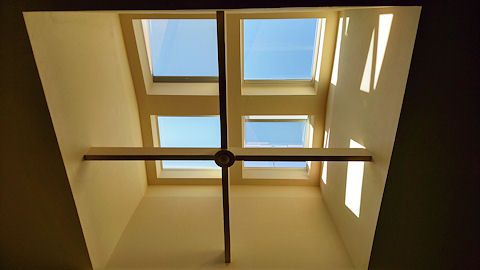
The cost for a skylight installation in Contra Costa County usually ranges from $1,200 to $3,500 per skylight, depending on the size, type, and roof…
What’s the best natural light for most homes, according to a skylight installation contractor in Berkeley, CA? Clear, double-glazed skylights with Low-E coatings. These skylights…
In Oakland, California, a skylight installation contractor is a trained professional who designs, installs, and maintains skylights to improve natural lighting, ventilation, and energy efficiency…

Homeowners hire an experienced home addition contractor in San Leandro, CA, because they want work done right, on time, and with fewer errors. They rely…

A home addition contractor in Hayward, CA, can help you stay in your home during construction. It really depends on the scope of the project…

Hiring a local professional like Mares & Dow Construction & Skylights Inc. ensures you avoid incomplete jobs or unexpected expenses. Others trust low-ball estimates with…

How can a home addition contractor in Fremont, CA assist with design-build planning? Most contractors in this area collaborate with architects and engineers to develop…

To budget for a project with a home addition contractor in Berkeley, CA, start by getting detailed quotes that list labor, materials, permits, and site…

Typically, a builder will work on homes from scratch, such as new homes or large-scale rebuilds. How is a builder different from a home addition…

To know what you should ask before hiring a home addition contractor in Emeryville, CA, start with clear questions about licensing, insurance, and experience with…

Can a home addition contractor in Piedmont, CA, match historic architecture? There are a lot of local contractors who deal in old homes and know…

The most popular projects for a home addition contractor in Albany, CA, include building new bedrooms, expanding kitchens, adding bathrooms, and creating finished basements or…